 |
| Casey's examples |
What a wonderful workshop! Sargent Art sponsored our most recent BAEA workshop. It was facilitated by BAEA's own Casey Williamson. The lesson we did was called "Interpreting Art Media," and it was a great lesson for our BAEA art teacher group because it really is adaptable for all grade levels (elementary, middle school, and secondary). We hosted this workshop at the Birmingham Museum of Art last Thursday from 4:30-6:30 in conjunction with the BMA's monthly first Thursday event.
We had snacks, door prizes, and lots of art making and productive conversations. If you would like to see the lesson plan you can download one from Sargent Art here. It was also our biggest turnout for a BAEA workshop so far...we had 13 people I think and lots of new faces!
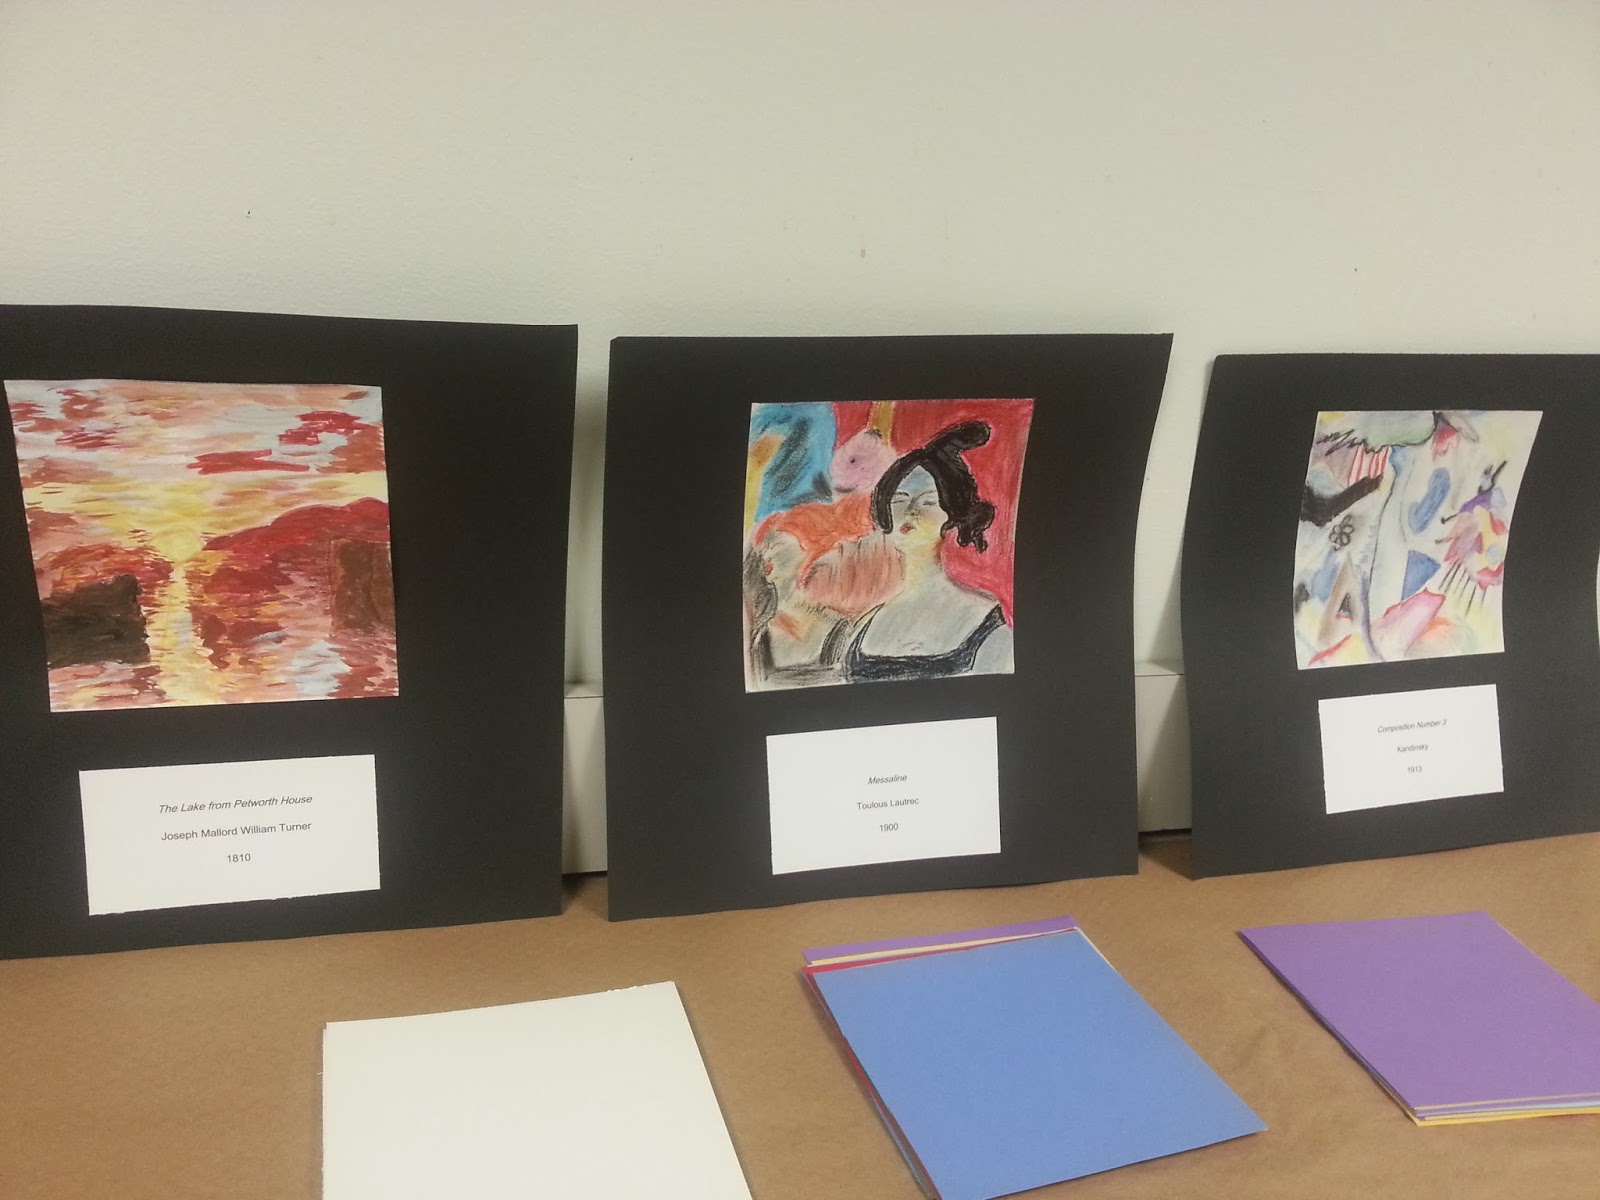
The lesson began by picking out an artwork from a book or magazine and focusing in on a 3 inch by 3 inch square. Using a pre-cut template, we cut it out and mounted it to a larger board so it would be easier to keep up with the image. Then we enlarged the image onto a 6 inch by 6 inch piece of paper. Casey encouraged us to experiment with various art media to recreate and interpret the image. Check out some of the pictures from the workshop!
 |
| Art teachers searching through art books and magazines to find the perfect image to use in their art work interpretation/enlargement. |
 |
| Trent folding his 3 x 3 art image to help guide in his enlargement (grid method). |
 |
| Abby sketching out her image. |
 |
| Trent's final image. I love the abstract expressionism quality of his piece. |
 |
| Another completed image (on top) and original inspiration (on bottom). |
 |
| My completed enlargement (on left) and original (on right). |
 |
| Anna's original in red and her interpretation on the right. I like how she used a different color palette in her interpretation! |
Here are Casey's teaching sequence steps as well as potential accommodations and modifications to the lesson:
STEPS:
1) Have students practice using various mediums (may be done on a previous day).
2) Choose one artwork to use (from art books/magazines)
3) Use the 3 x 3 template to cut out an interesting portion of the artwork (can trim index cards to create the template).
4) Mount the example on mat board or cardstock.
5) Sketch the artwork onto a 6 x 6 piece of paper (pay attention to proportion!).
6) Make creative decisions about what medium to use based on what the artwork looks like.
7) Choose at least 3 different mediums to use (paint, oil/chalk pastels, markers, sharpies, crayons, etc.).
8) Create artwork (be aware of drying time).
9) Let artwork dry.
10) Mount or mat. Enjoy your finished product!
Modifications:
1) Students could create a series.
2) Could give students specific artworks (based on ability level).
3) Teach students about mounting/matting beforehand.
4) Have students write a paper based on the artwork/artists/style.
5) Work on larger paper (9 x 9, 12 x 12, etc...)
6) Use the grid method to ensure proper proportion.
7) Create work for entire class based on specific artists or genre.
This was a GREAT workshop and a whole lot of fun too!
ReplyDeleteI am so glad I decided to attend.
Thanks, Casey and Lindsay!
This is a wonderful article, Given so much info in it, These type of articles keeps the users interest in the website, and keep on sharing more ... good luck
ReplyDeletestudent houses Manchester